

以Ubuntu为例:
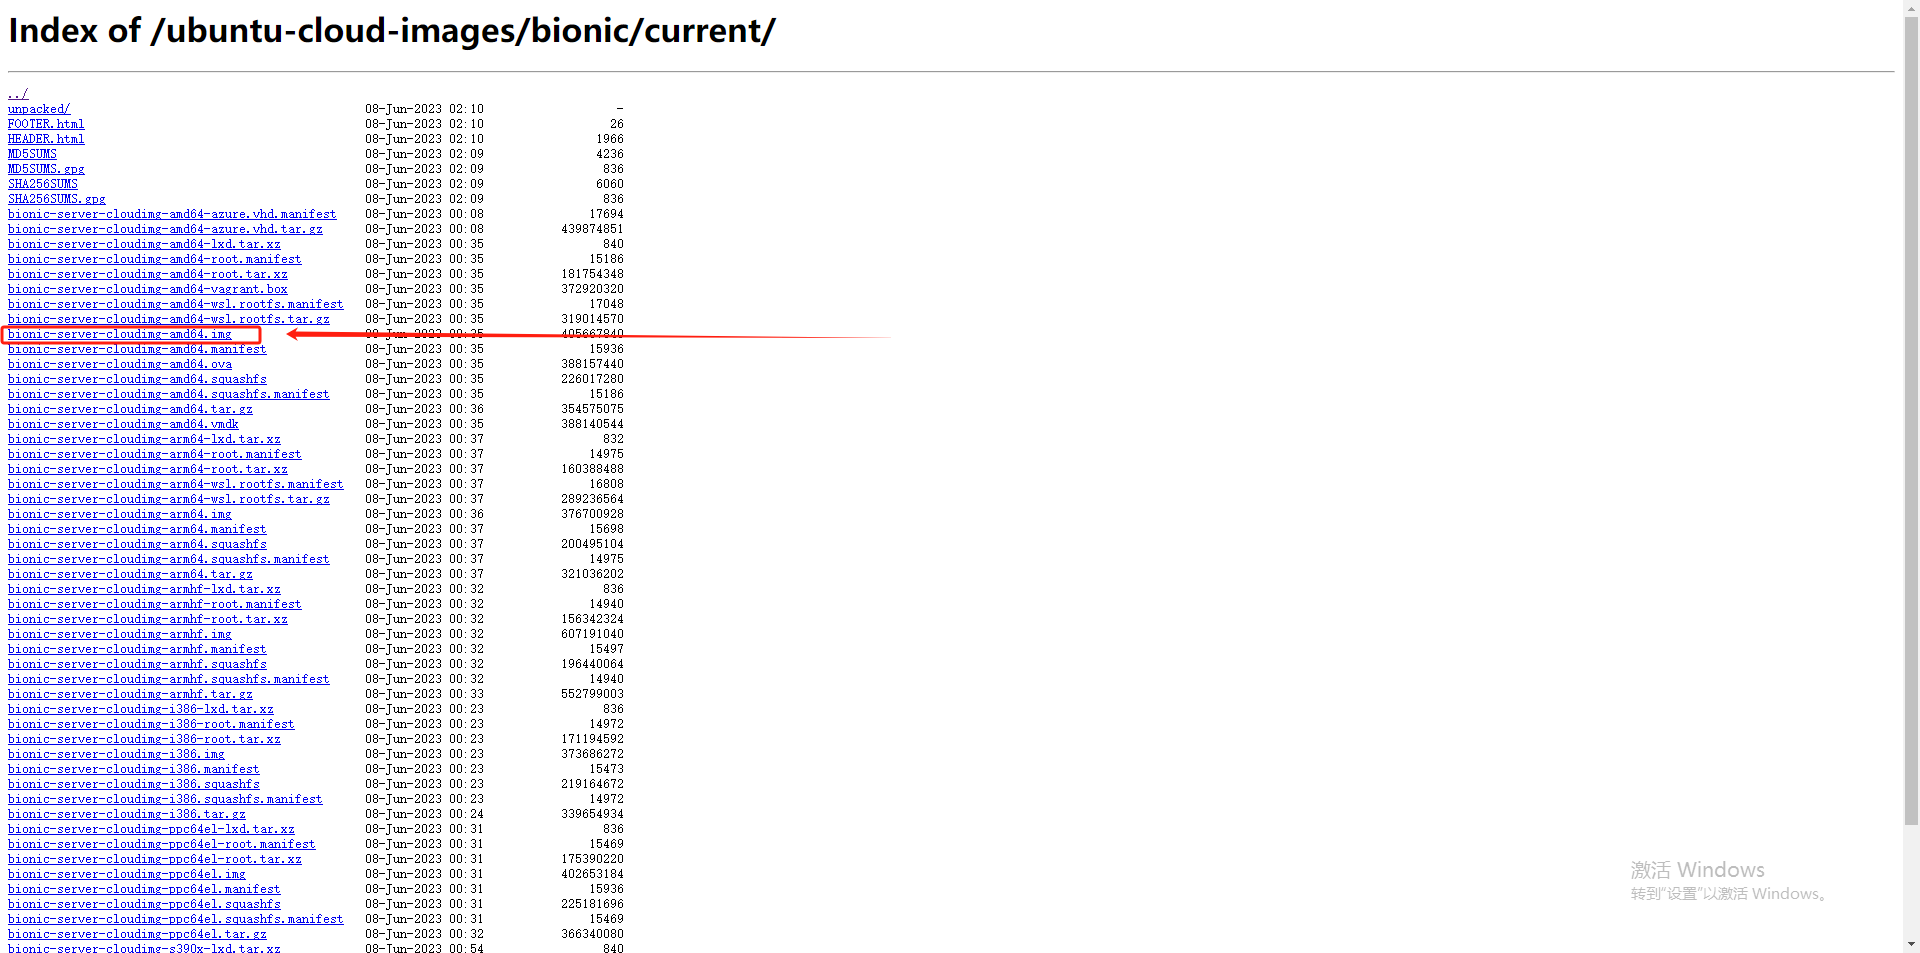
- 先打开中科大镜像站把需要的镜像GET下来,这里以Ubuntu18.04为例
cd /opt/unetlab/addons/qemu/ &&  mkdir linux-ubuntu18.04
# 进入 /opt/unetlab/addons/qemu/并创建 linux-ubuntu18.04目录

cd linux-ubuntu18.04/
# 进入刚创建的目录

wget -c https://mirrors.ustc.edu.cn/ubuntu-cloud-images/bionic/current/bionic-server-cloudimg-amd64.img -O $PWD/virtioa.qcow2
# 将镜像get到当前目录并重命名为vitioa.qcow2

root@pnetlab:/opt/unetlab/addons/qemu/linux-ubuntu18.04# qemu-img info virtioa.qcow2  # 查看虚拟磁盘的信息
image: virtioa.qcow2
file format: qcow2
virtual size: 2.2 GiB (2361393152 bytes)    # 可以看到get下来的磁盘大小仅为2.2G,所以我们需要将其宽容到10G
disk size: 387 MiB
cluster_size: 65536
Format specific information:
    compat: 0.10
    refcount bits: 16

root@pnetlab:/opt/unetlab/addons/qemu/linux-ubuntu18.04# qemu-img resize virtioa.qcow2 +8G
# 对虚拟磁盘追加8G的容量


root@pnetlab:/opt/unetlab/addons/qemu/linux-ubuntu18.04# qemu-img info virtioa.qcow2   # 再次查看磁盘的信息
image: virtioa.qcow2
file format: qcow2
virtual size: 10.2 GiB (10951327744 bytes)    # 可以看到此时已经由原来的2.2G变成了10.2G
disk size: 387 MiB
cluster_size: 65536
Format specific information:
    compat: 0.10
    refcount bits: 16


root@pnetlab:/opt/unetlab/addons/qemu/linux-ubuntu18.04# virt-customize -a virtioa.qcow2 --root-password password:123456 # 因为云镜像默认root是没有秘密的,我们需要为root用户赋予123456为默认密码
[   0.0] Examining the guest ...
[   4.6] Setting a random seed
virt-customize: warning: random seed could not be set for this type of
guest
[   4.6] Setting the machine ID in /etc/machine-id
[   4.7] Setting passwords
[   6.4] Finishing off
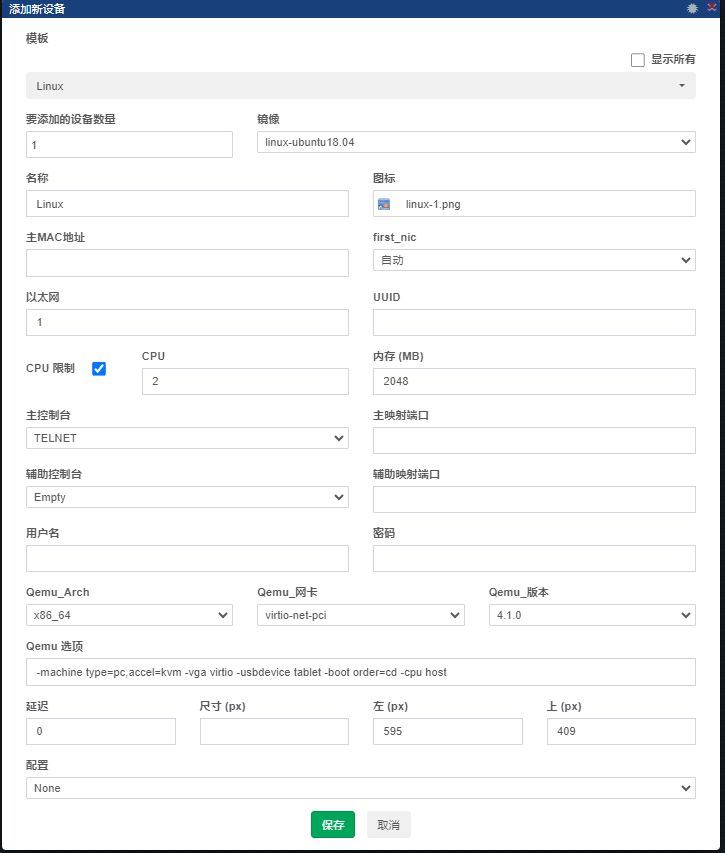
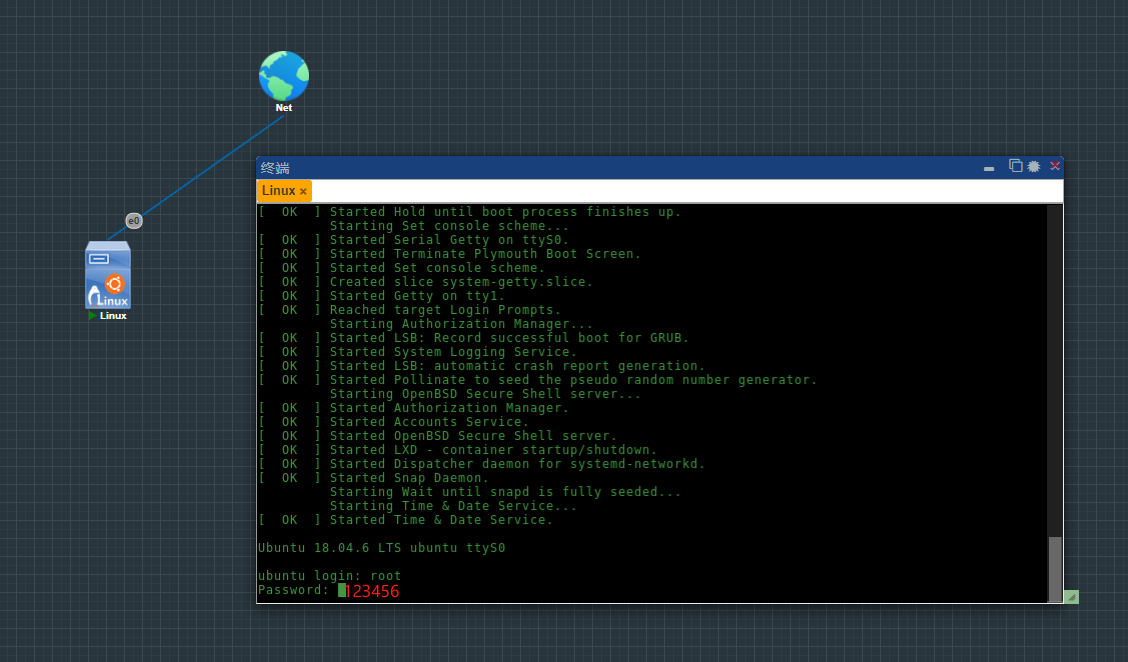
进入Pnetlab的WEB控制台:
新建一台Linux的设备并开机


 私信站长
私信站长